Reconnaissance with Nmap & Amap
Introduction
This lab introduces Nmap the "network mapper" and its usage to perform basic network port reconnaissance and scanning. Additionally, the use of the Amap "application mapper" tool in order to determine which applications are running on listening ports.
1. Reconnaissance Using Nmap
1. Kali Linux Virtual Machine
To lunch Wireshark, execute the command wireshark from within the terminal.
2. Wireshark
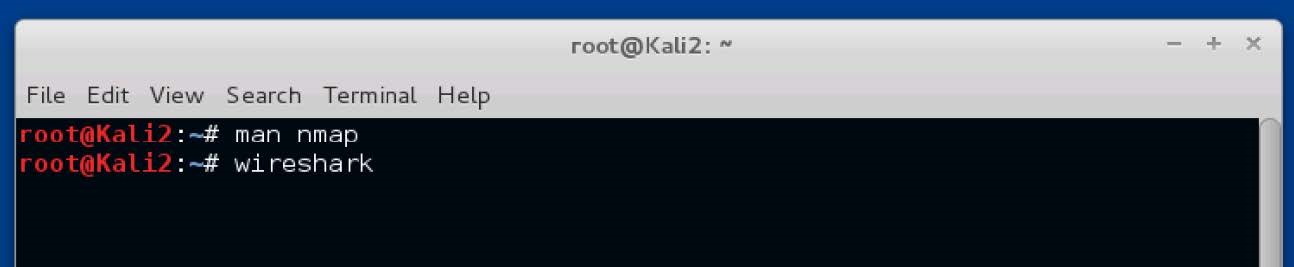
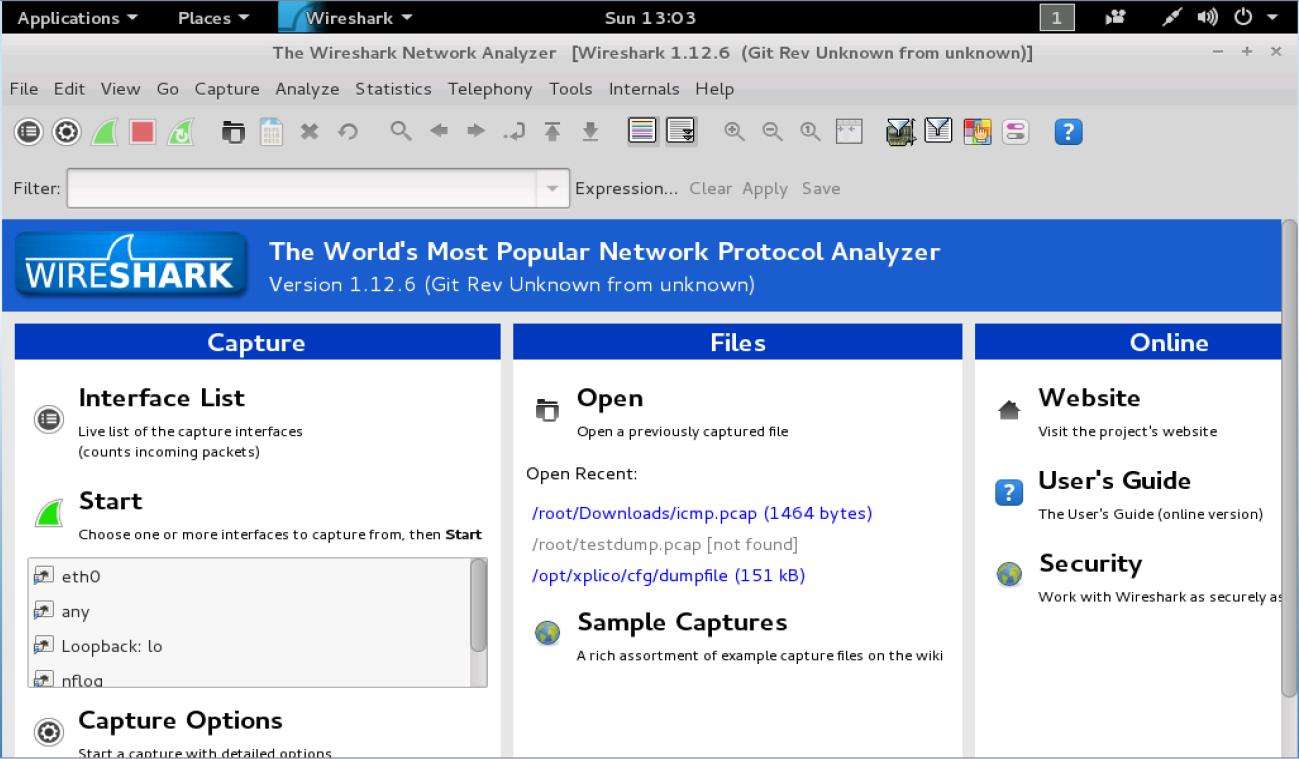
To lunch Wireshark, execute the command wireshark from within the terminal.
3. Capture panel
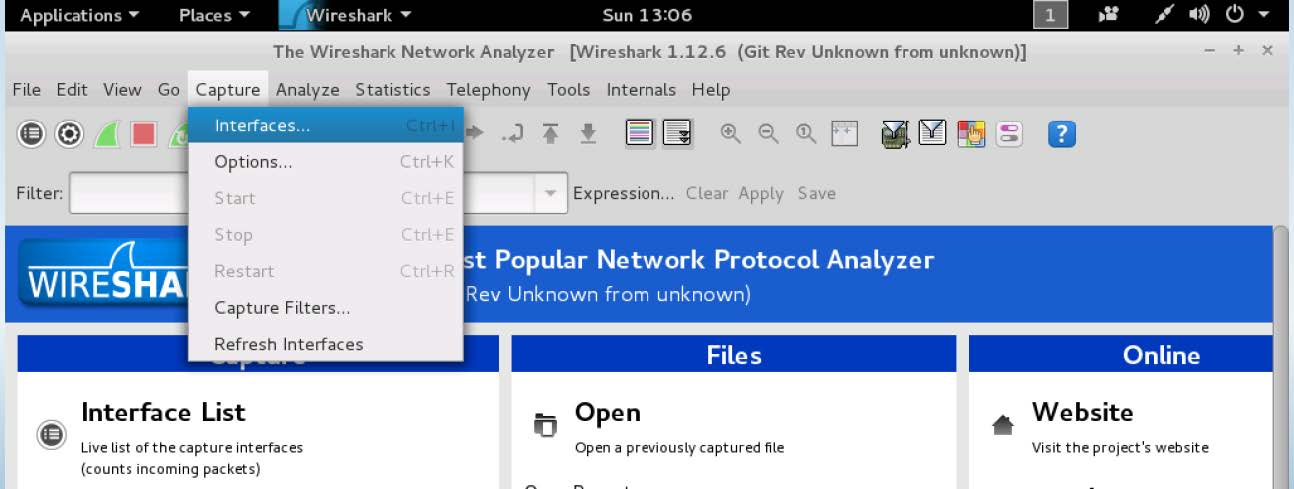
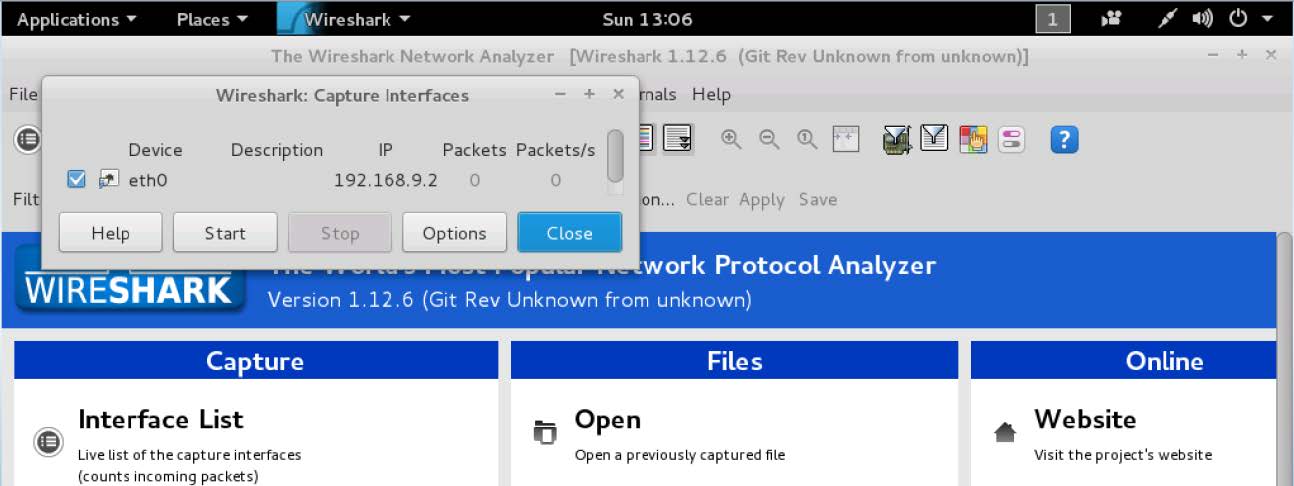
The next step now is to select my ethernet port (eth0) in order to do this, I clicked on the Capture panel, then I clicked on Interfaces, from there I selected eth0, then I clicked on Start in order to initiate Wireshark's capturing process.
To be continued...
Network Analysis
Introduction
The ability to capture and analyze packets is an important skill when performing a security assessment or investigating a potential network breach. This lab will demonstrate how to capture and analyze network packets.
1. Capturing Traffic with tcpdump
1. Open a new terminal in Kali linux virtual machine

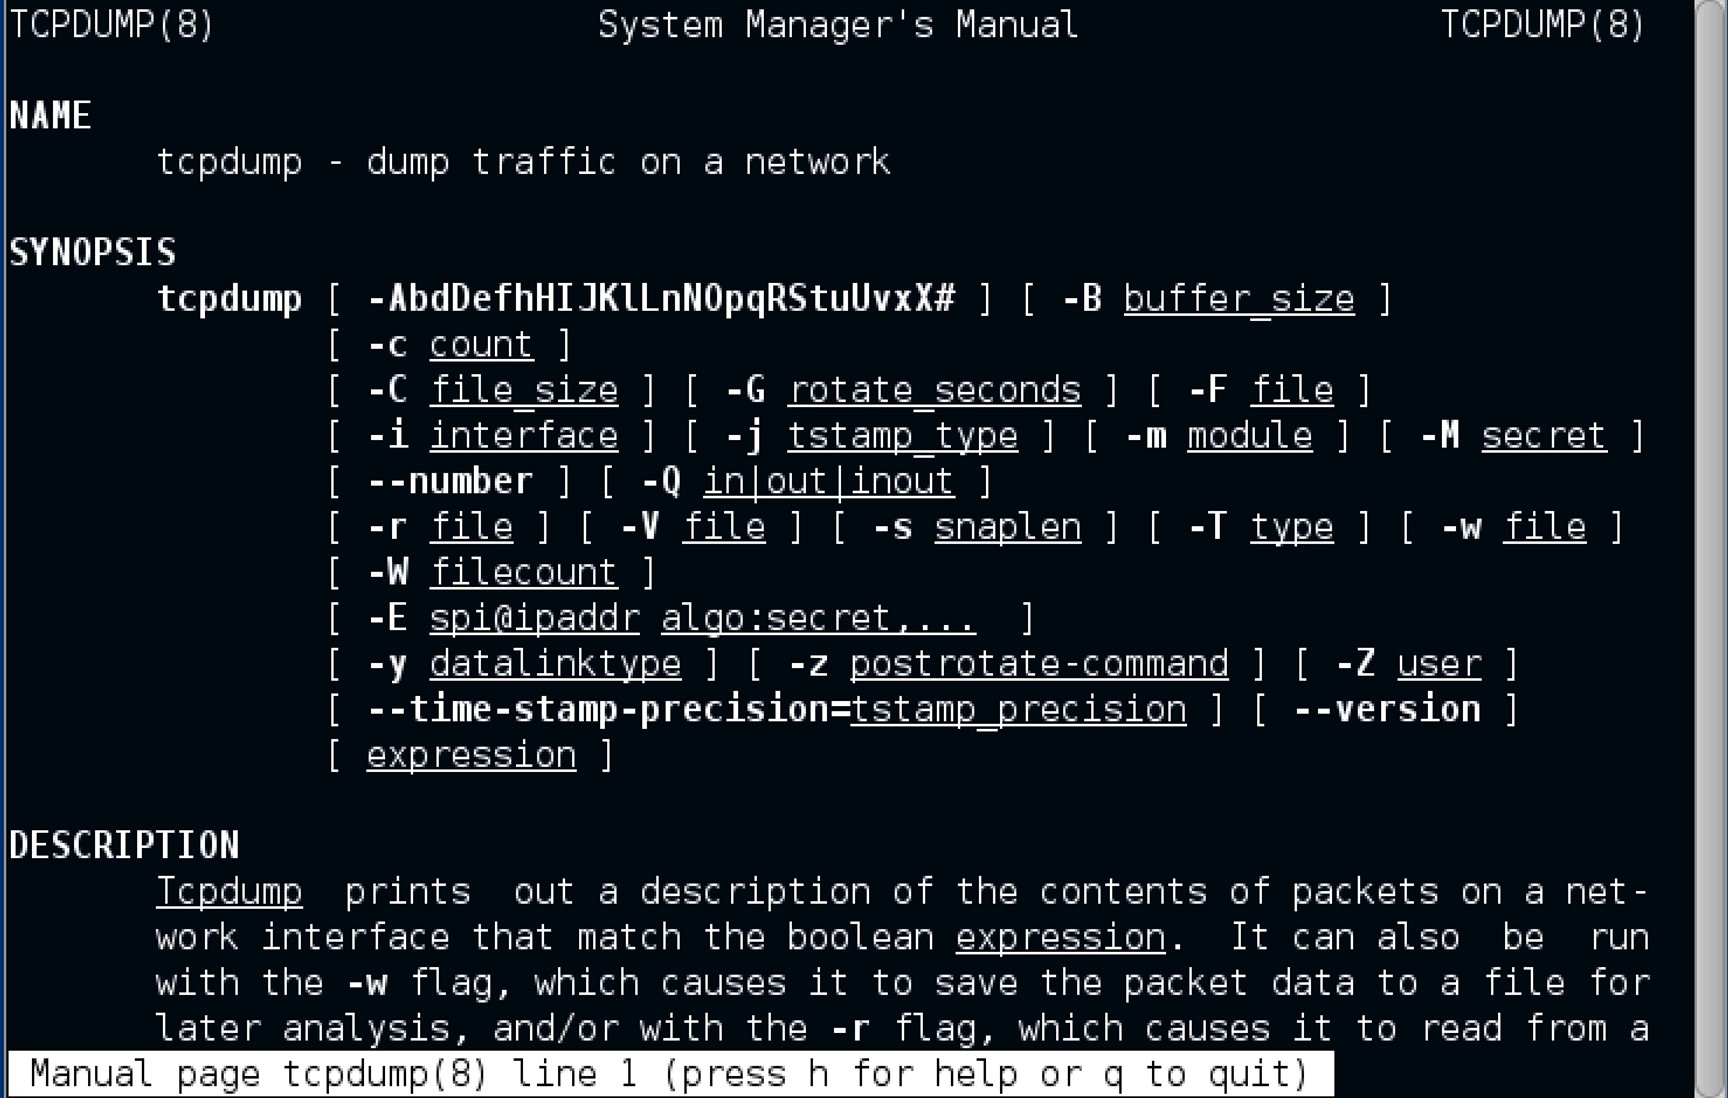
The command man tcpdump allows for familiarization with the the tcpdump command options.
2. tcpdump, collection of raw traffic
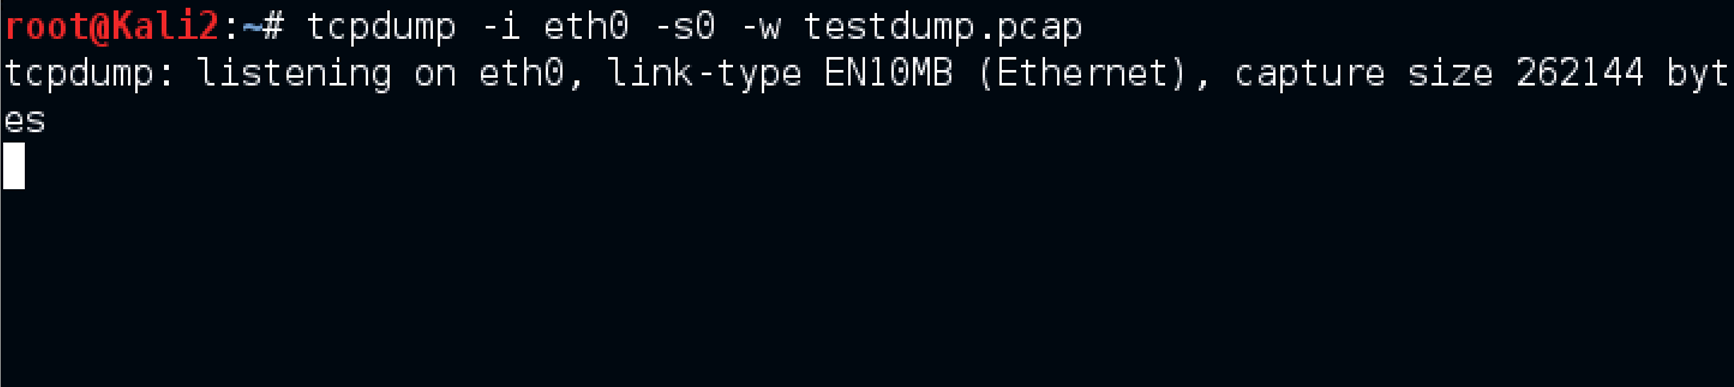
To start capturing packets and save them as a .pcap file extension, so that it can either be used with Wireshark or Xplico,
the command tcpdump -i eth0 -s0 -w testdump.pcap was used.
3. Launch a new Terminal
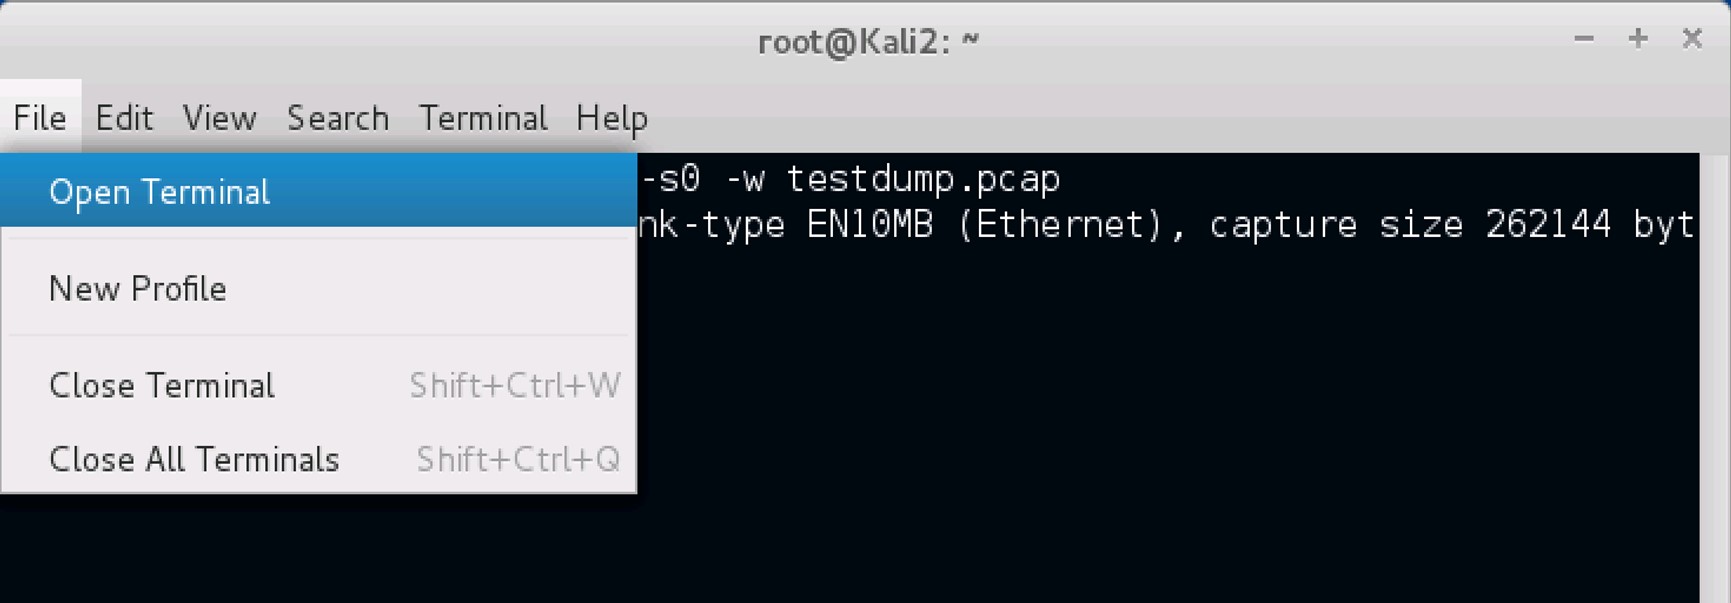
Leaving the above tcpdump command running uninterrupted, launch a new Terminal.
4. Generating some traffic with the OWASP VM
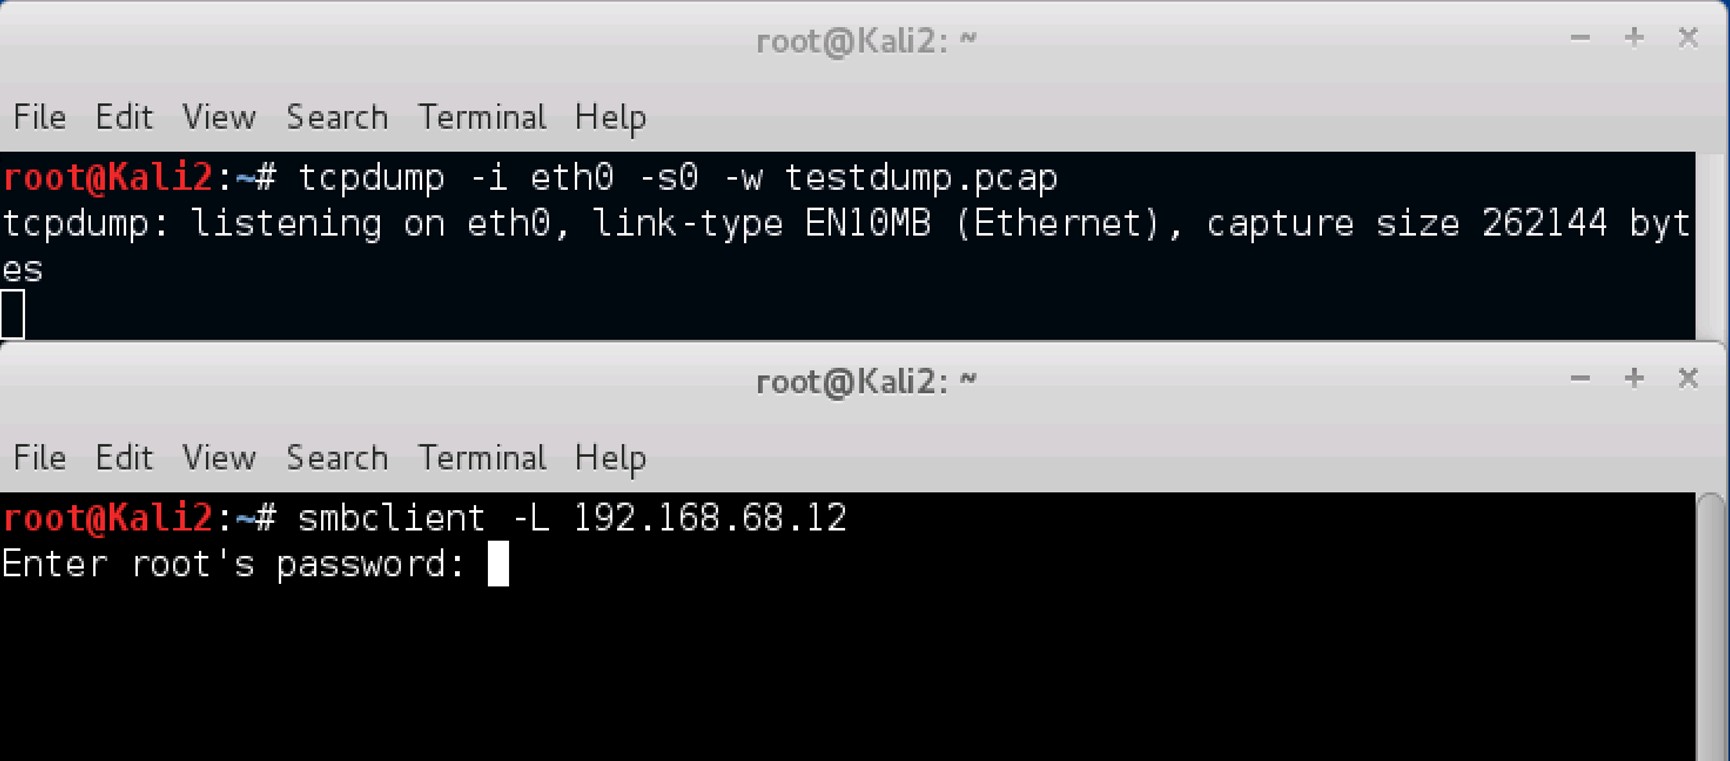
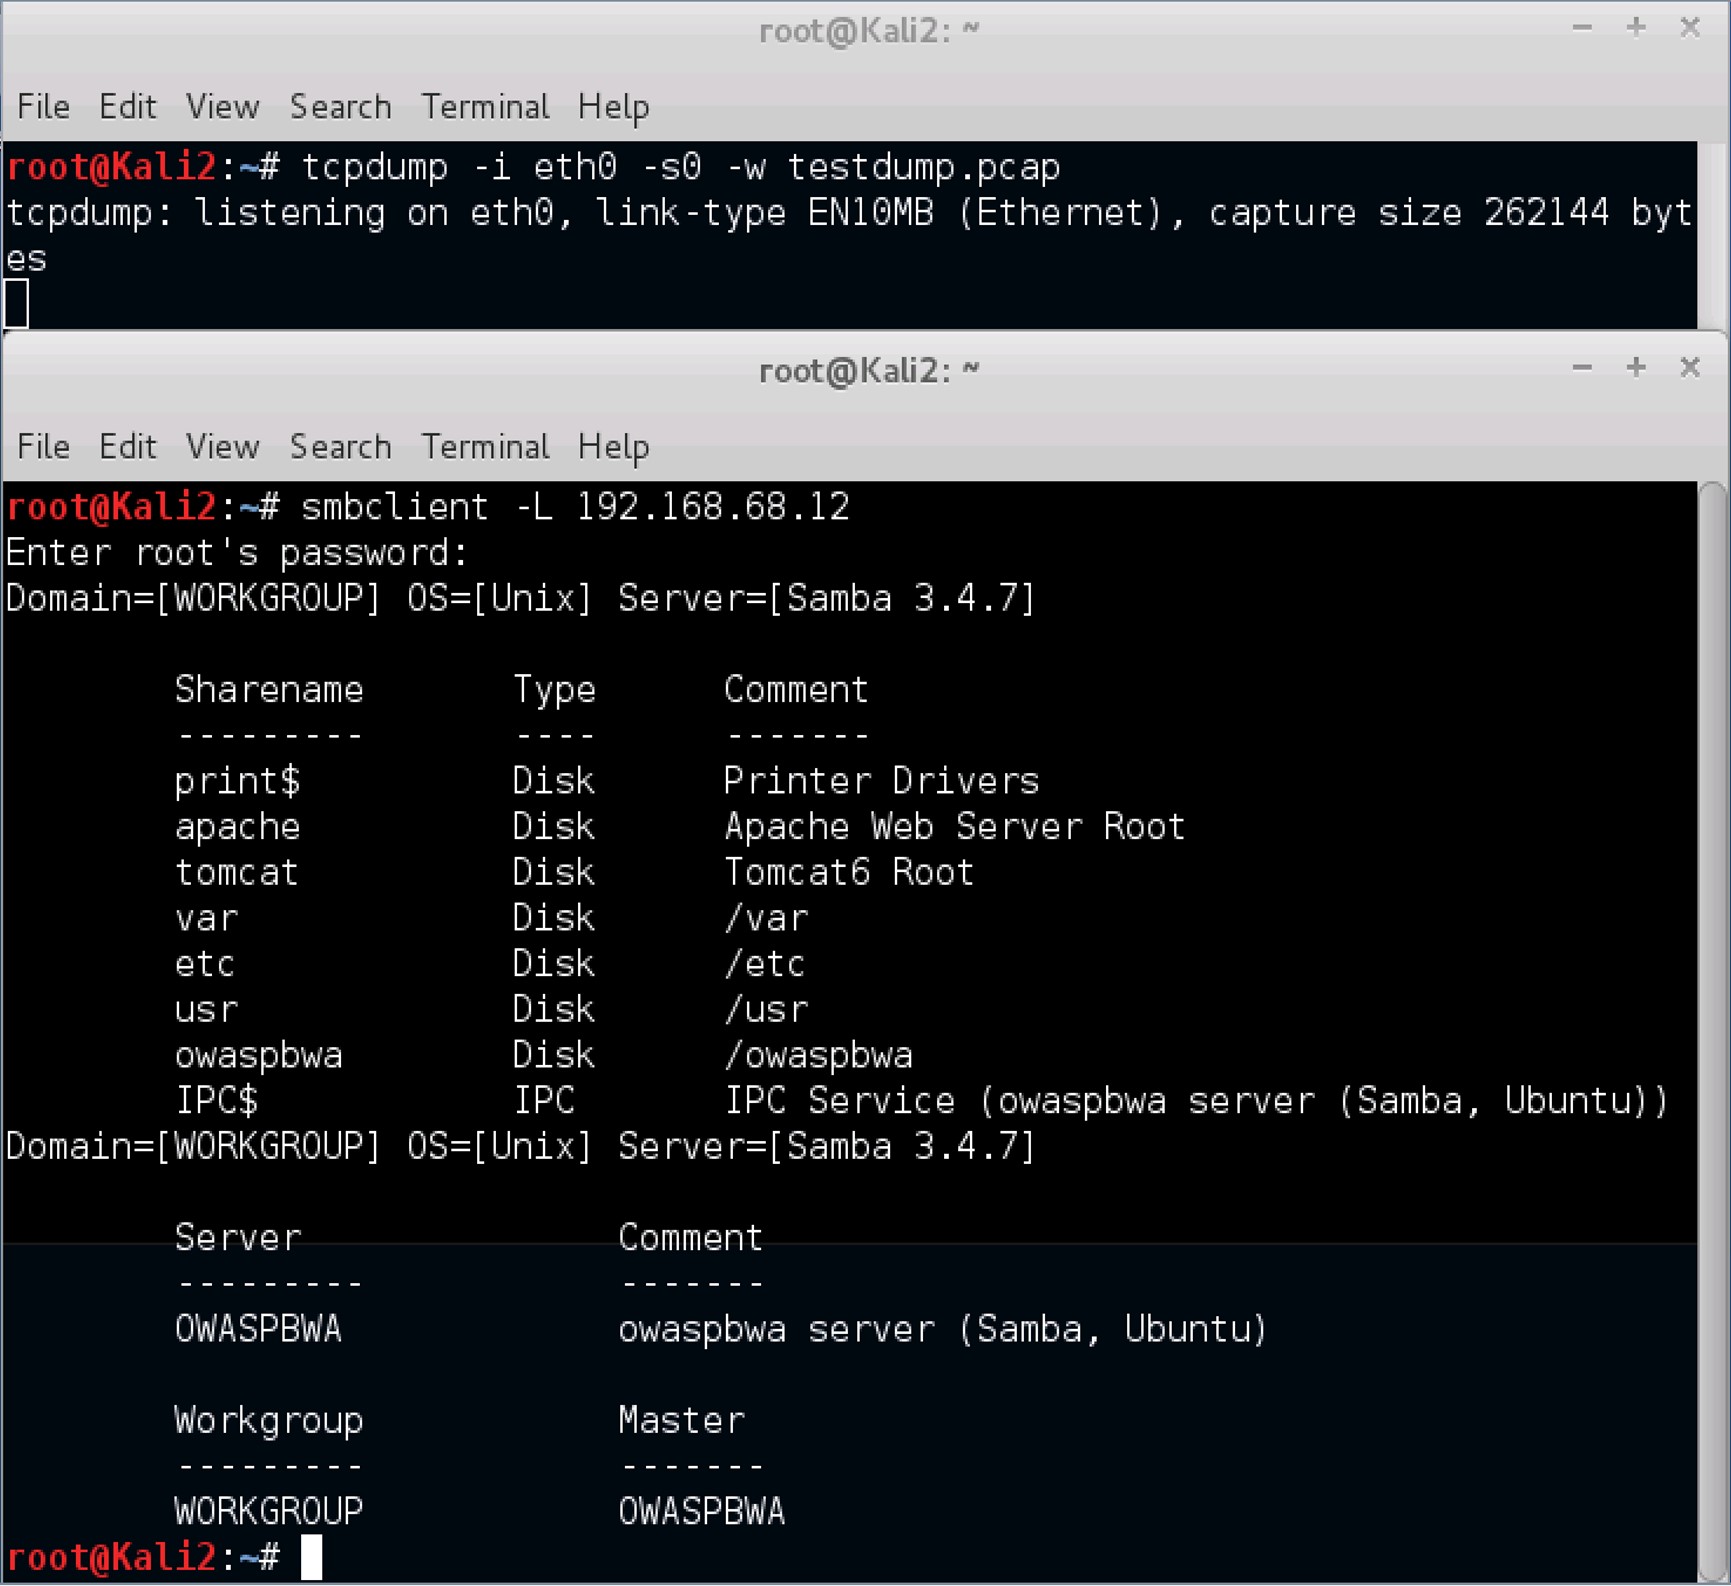
Generate some traffic with the OWASP virtual machine by entering the command smbclient -L 192.168.68.12. -L is the option used to list shares. So, the command smbclient -L 192.168.68.12, basically states; list the shares provided by the IP address 192.168.68.12.
5. Root's password
Input Kali Linux's root password, when the command smbclient -L 192.168.68.12 has executed and you are prompted to do so.
6. Accessing the owaspbwa SMB share

Input the command smbclient \\\\192.168.68.12\\owaspbwa and once it executes, you might be prompted again to enter the root password.
7. Password prompt

Input your password.
8. Iceweasel browser

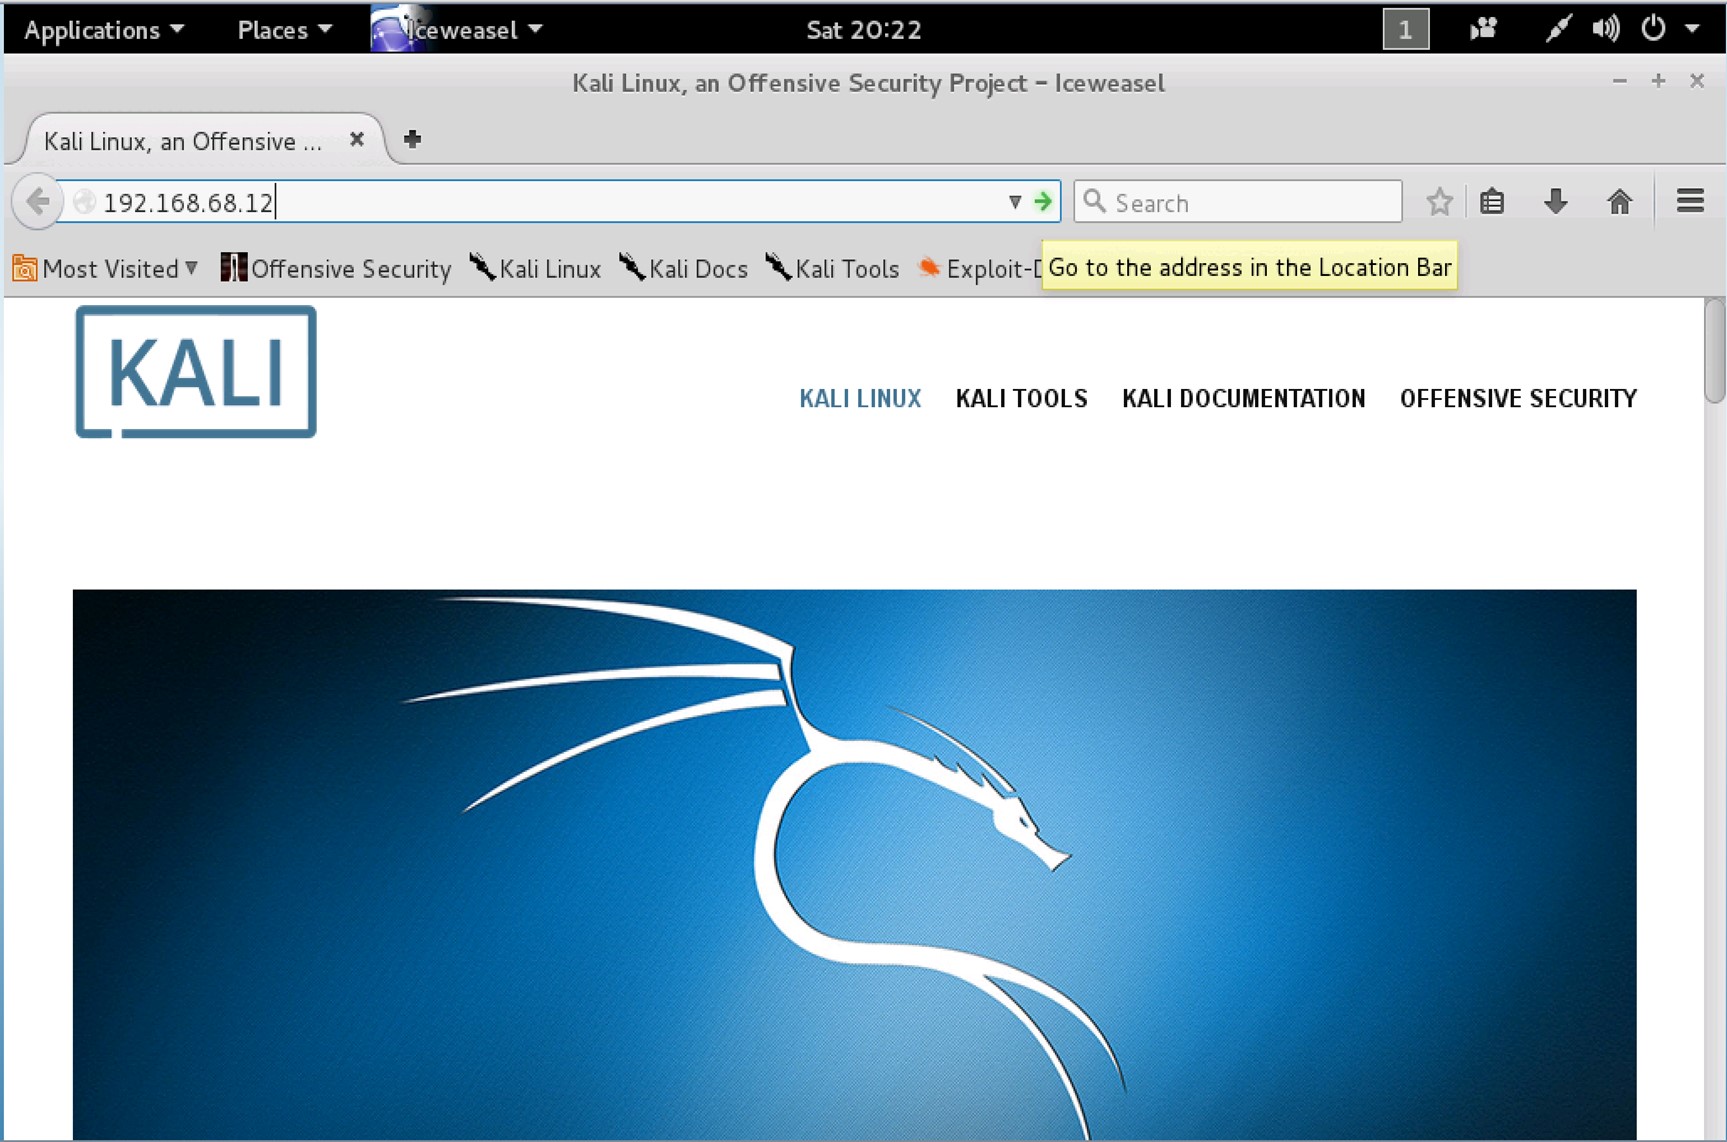
From the Iceweasel browser, input 192.168.68.12 into the address field and press the Enter key on your keyboard or press the green arrow on the far right of the address field.
9. Tiki Wiki
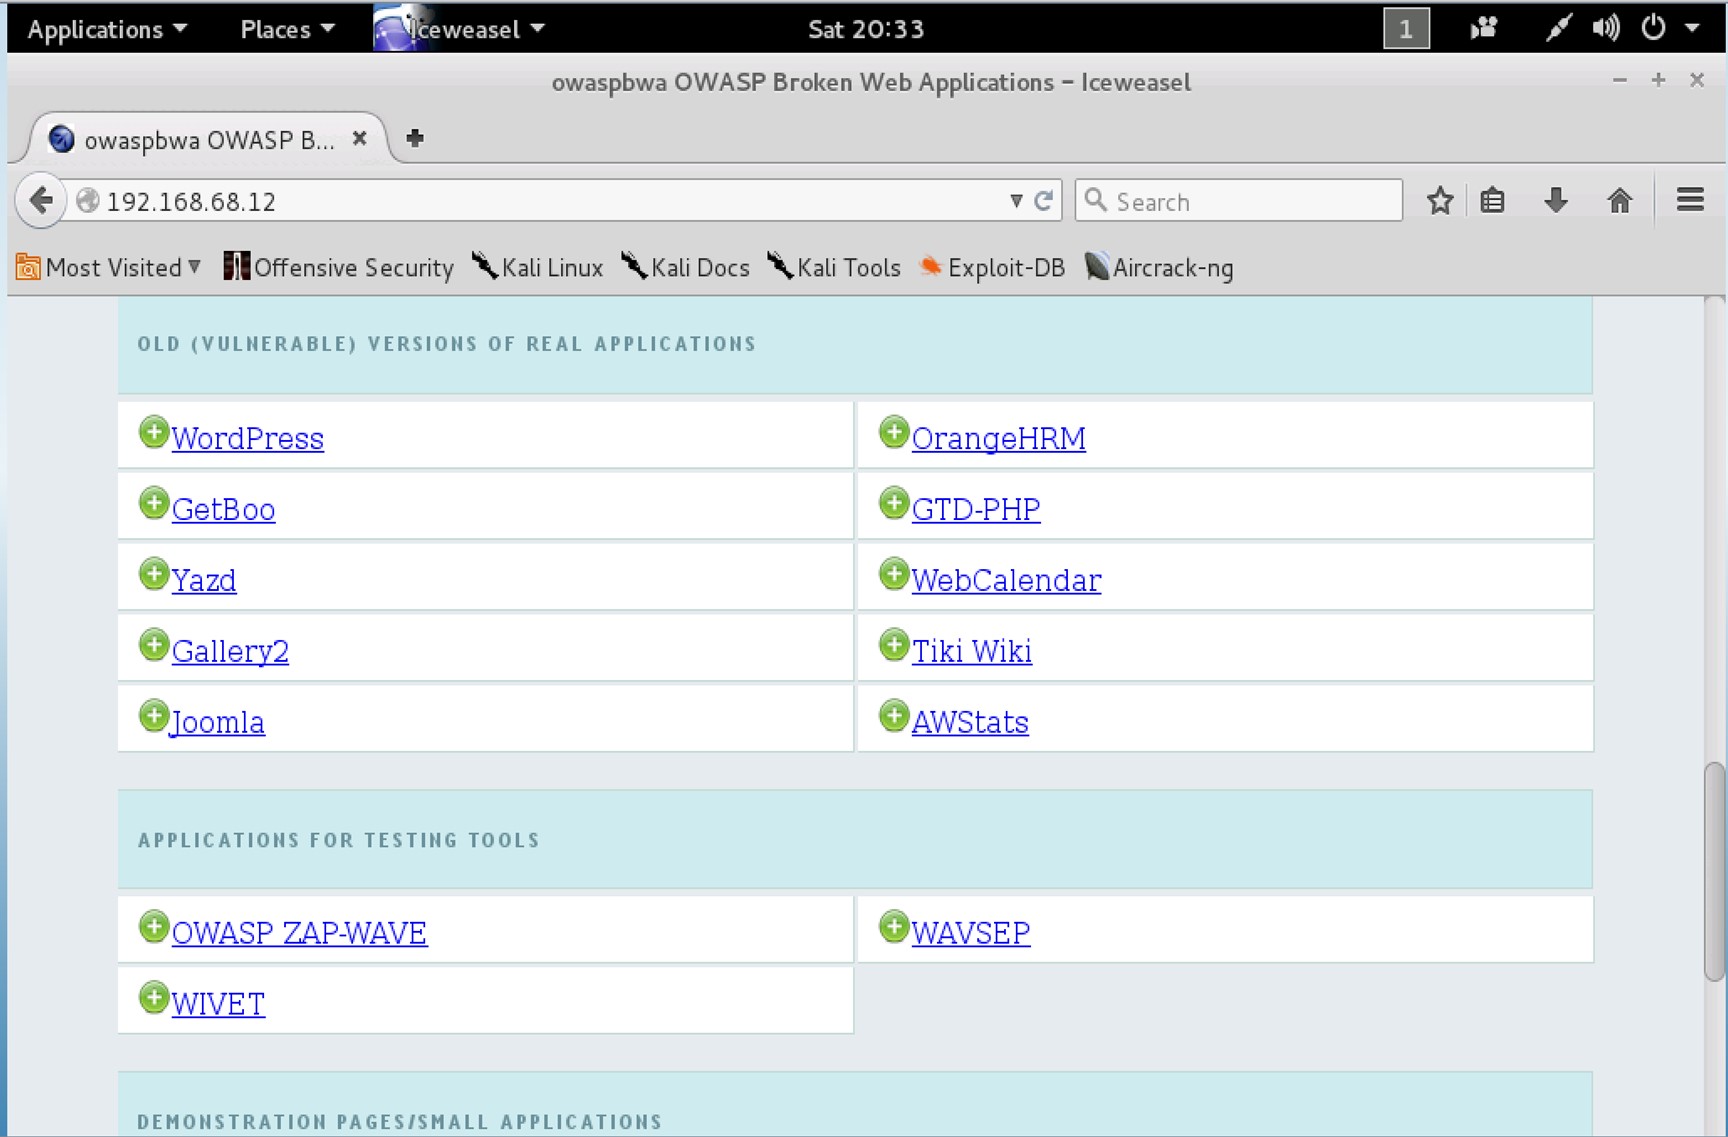
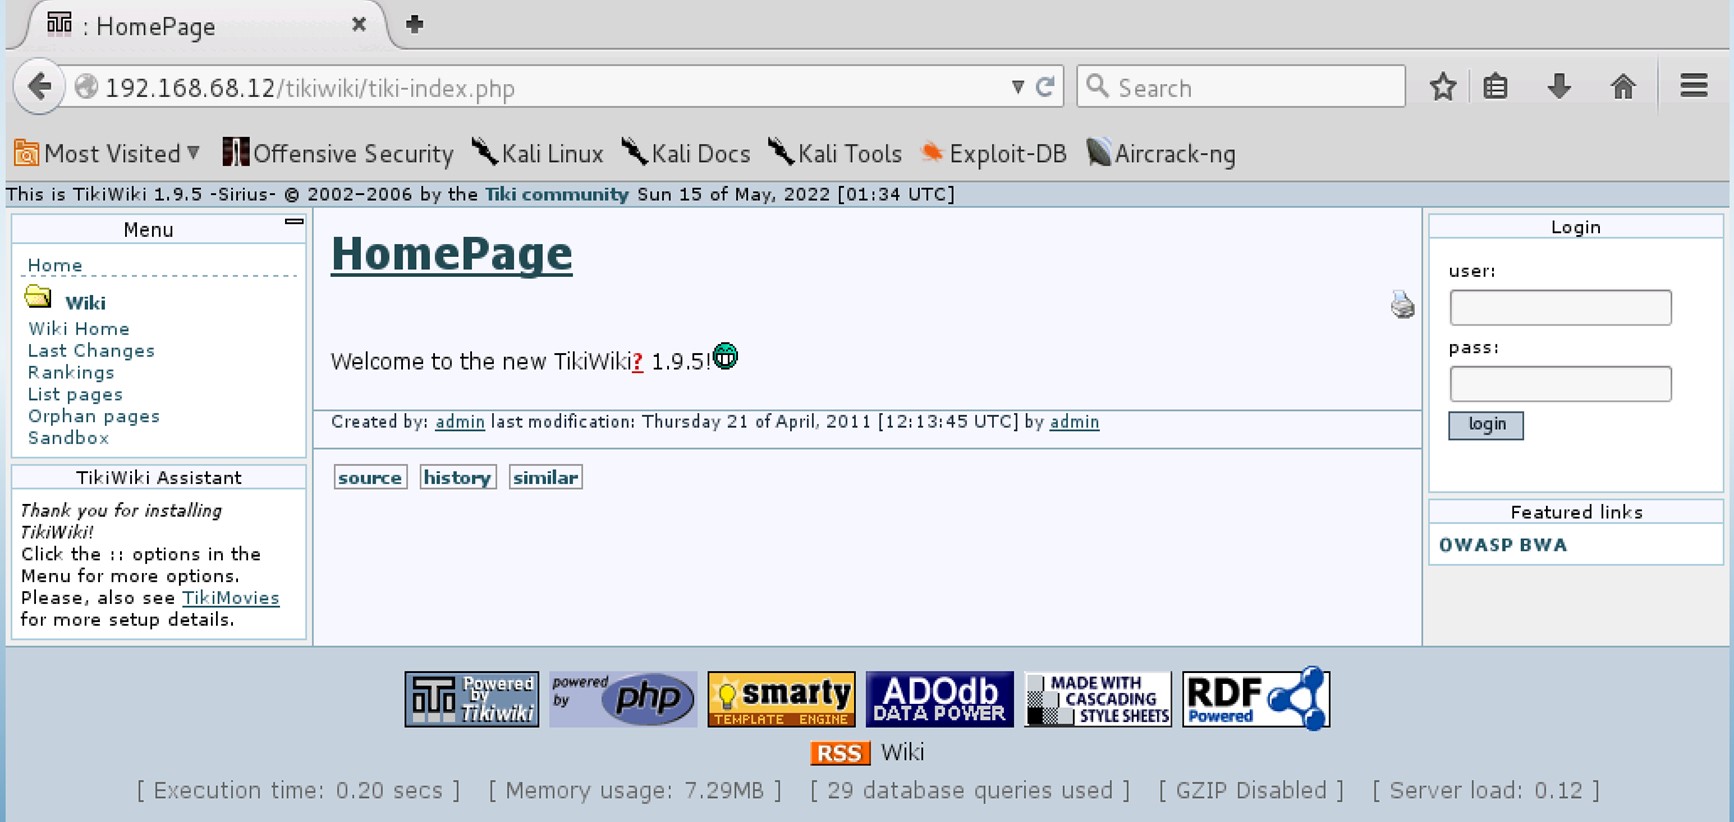
After the page loads, scroll-down until you see the Tiki Wiki link, then click on it. This action will lead you to the tiki webpage.
10. Back to the Terminal window
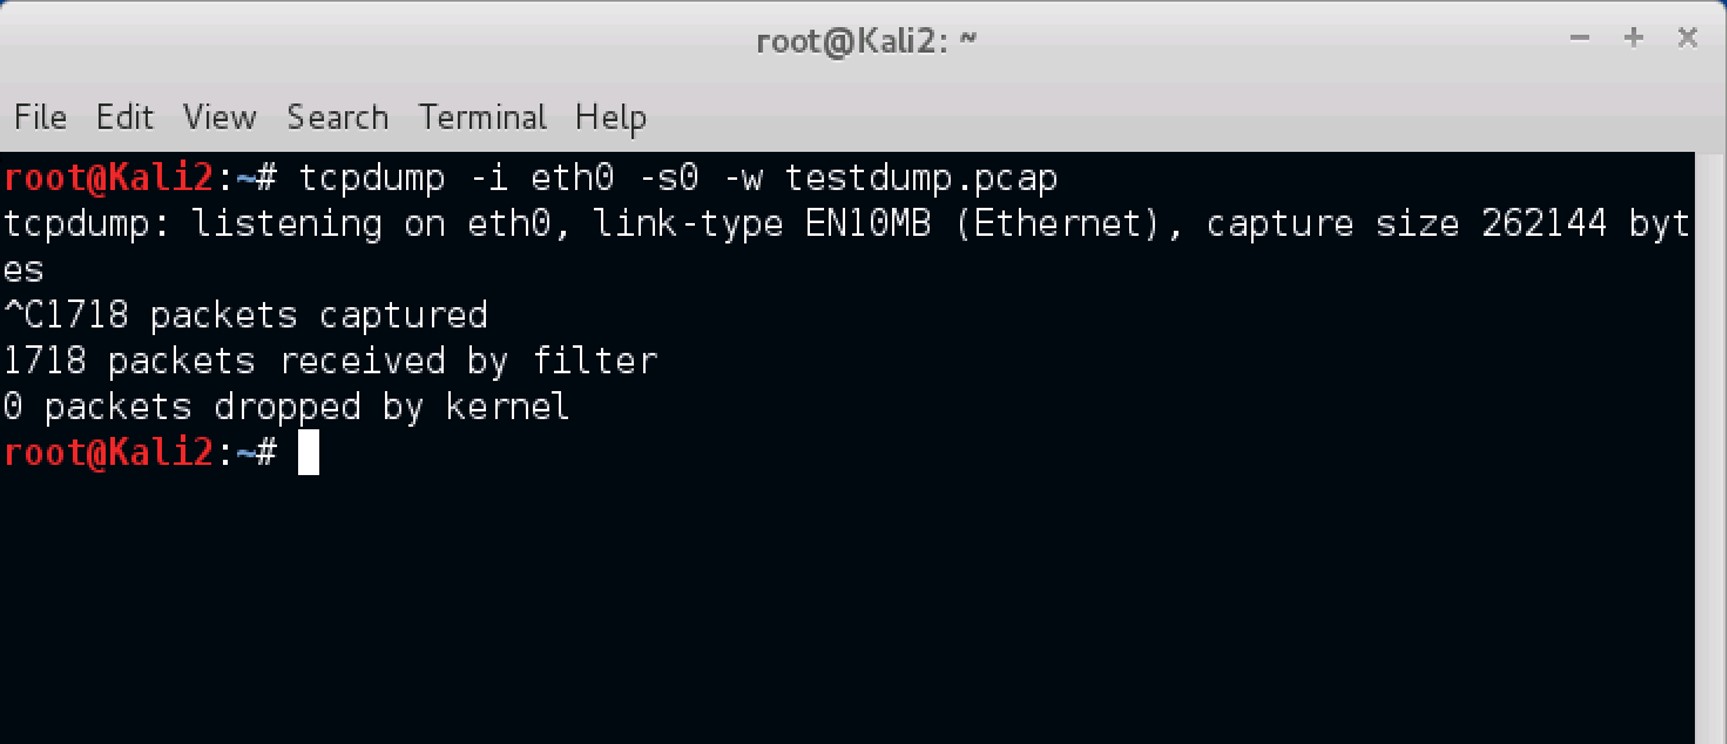
Navigate back to the Terminal window where tcpdump is running and from your keyboard, press CTRL+C to stop the tcpdump that is currently running.
2. Analyzing Traffic with Wireshark
1. Wireshark
Launch the Wireshark application by using the command wireshark
2. Wireshark Application

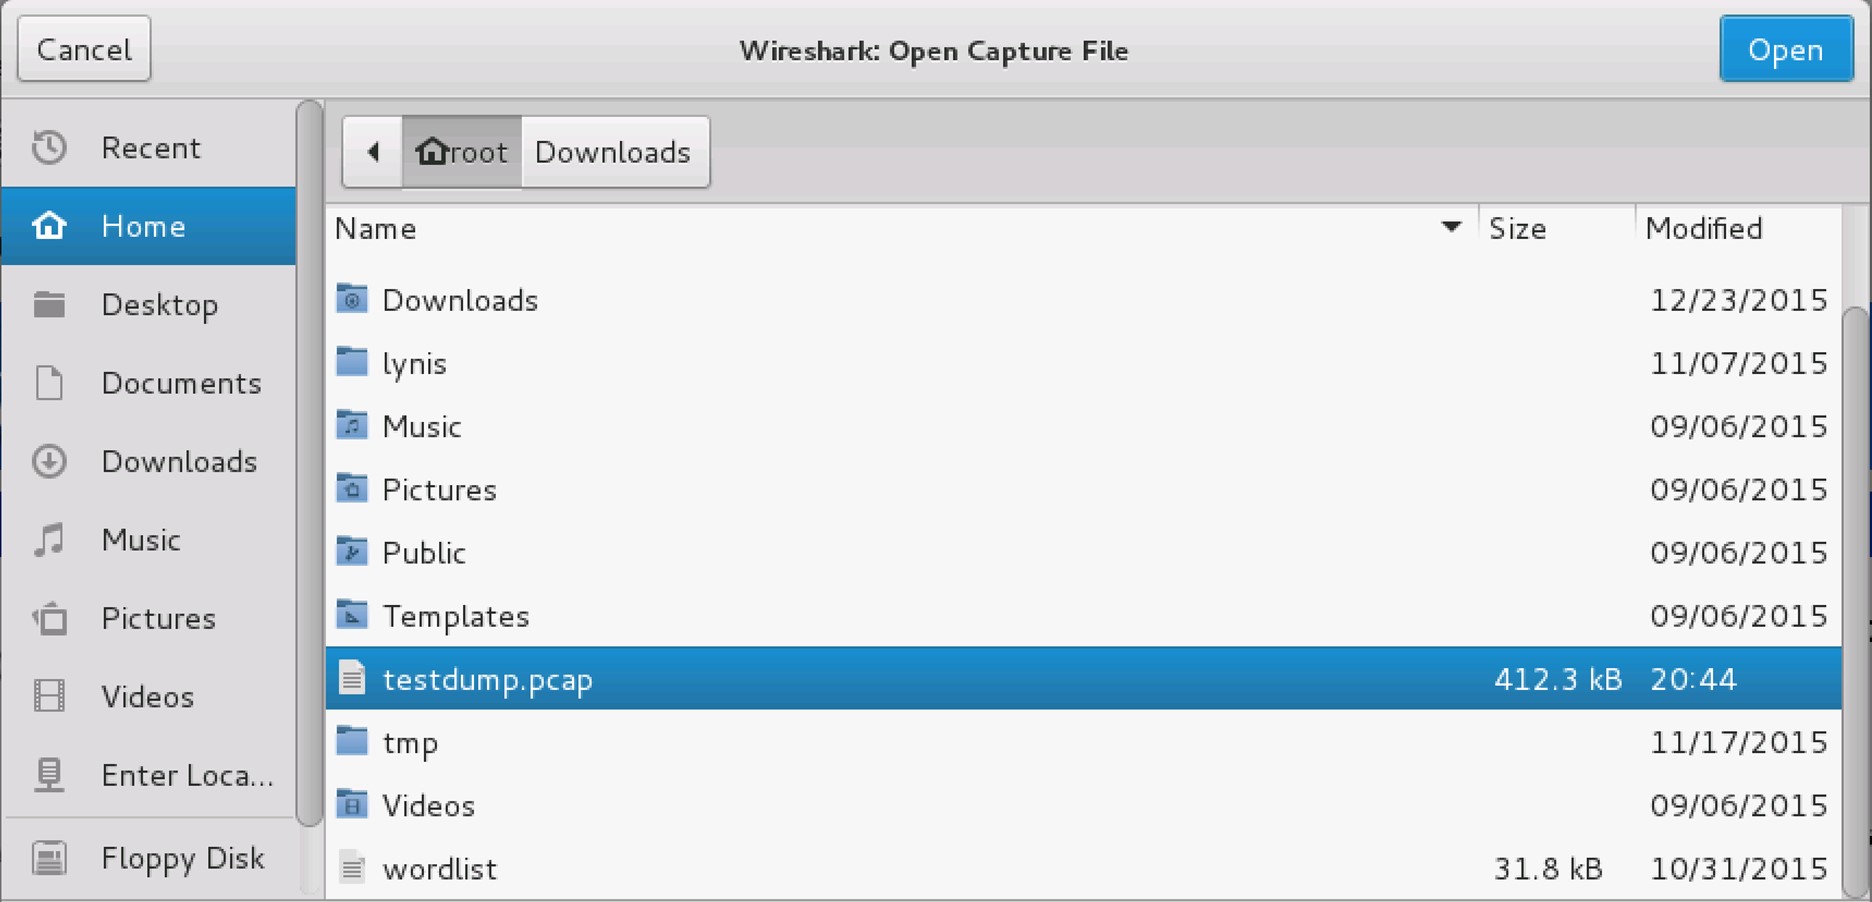
From the File tab, select Open A new window will open, from this window; Wireshark: Open Capture File, Click the Home icon on the left, Select testdump.pcap then click on the Open button.
3. testdump.pcap
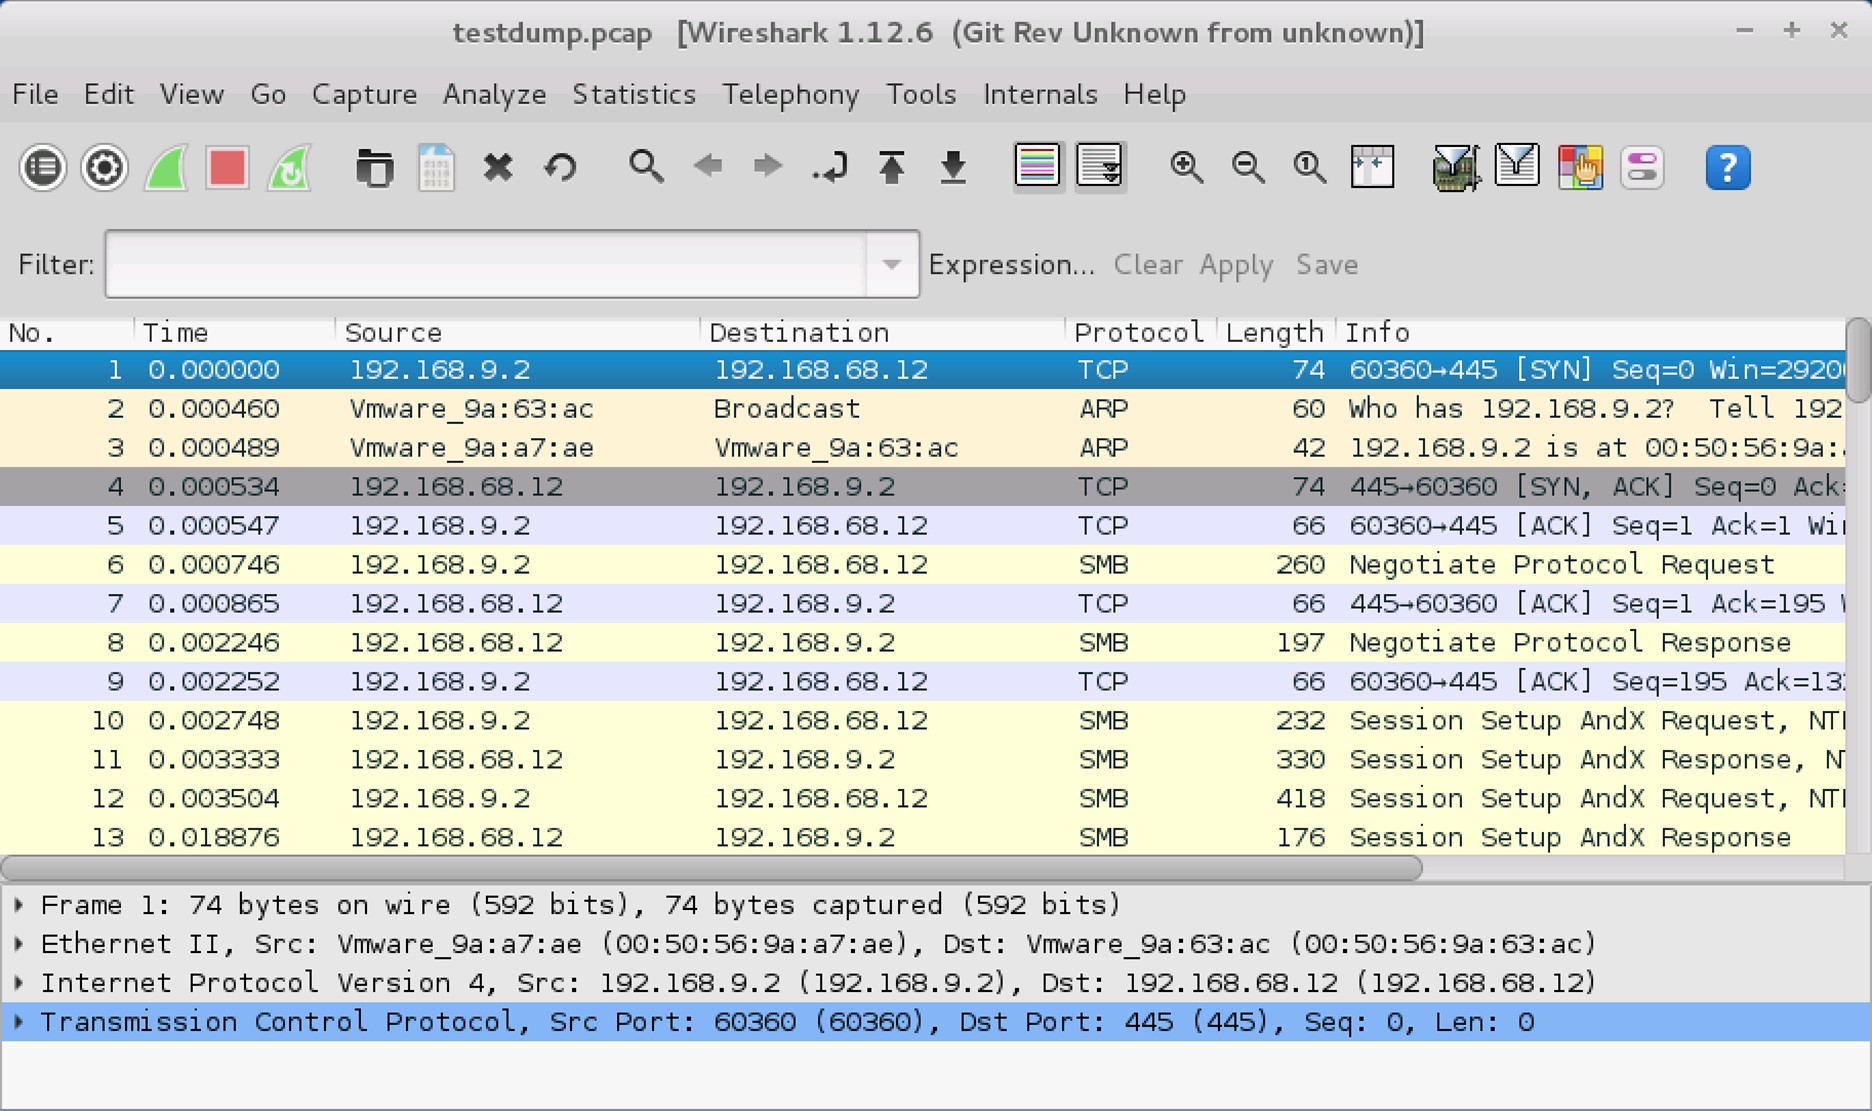
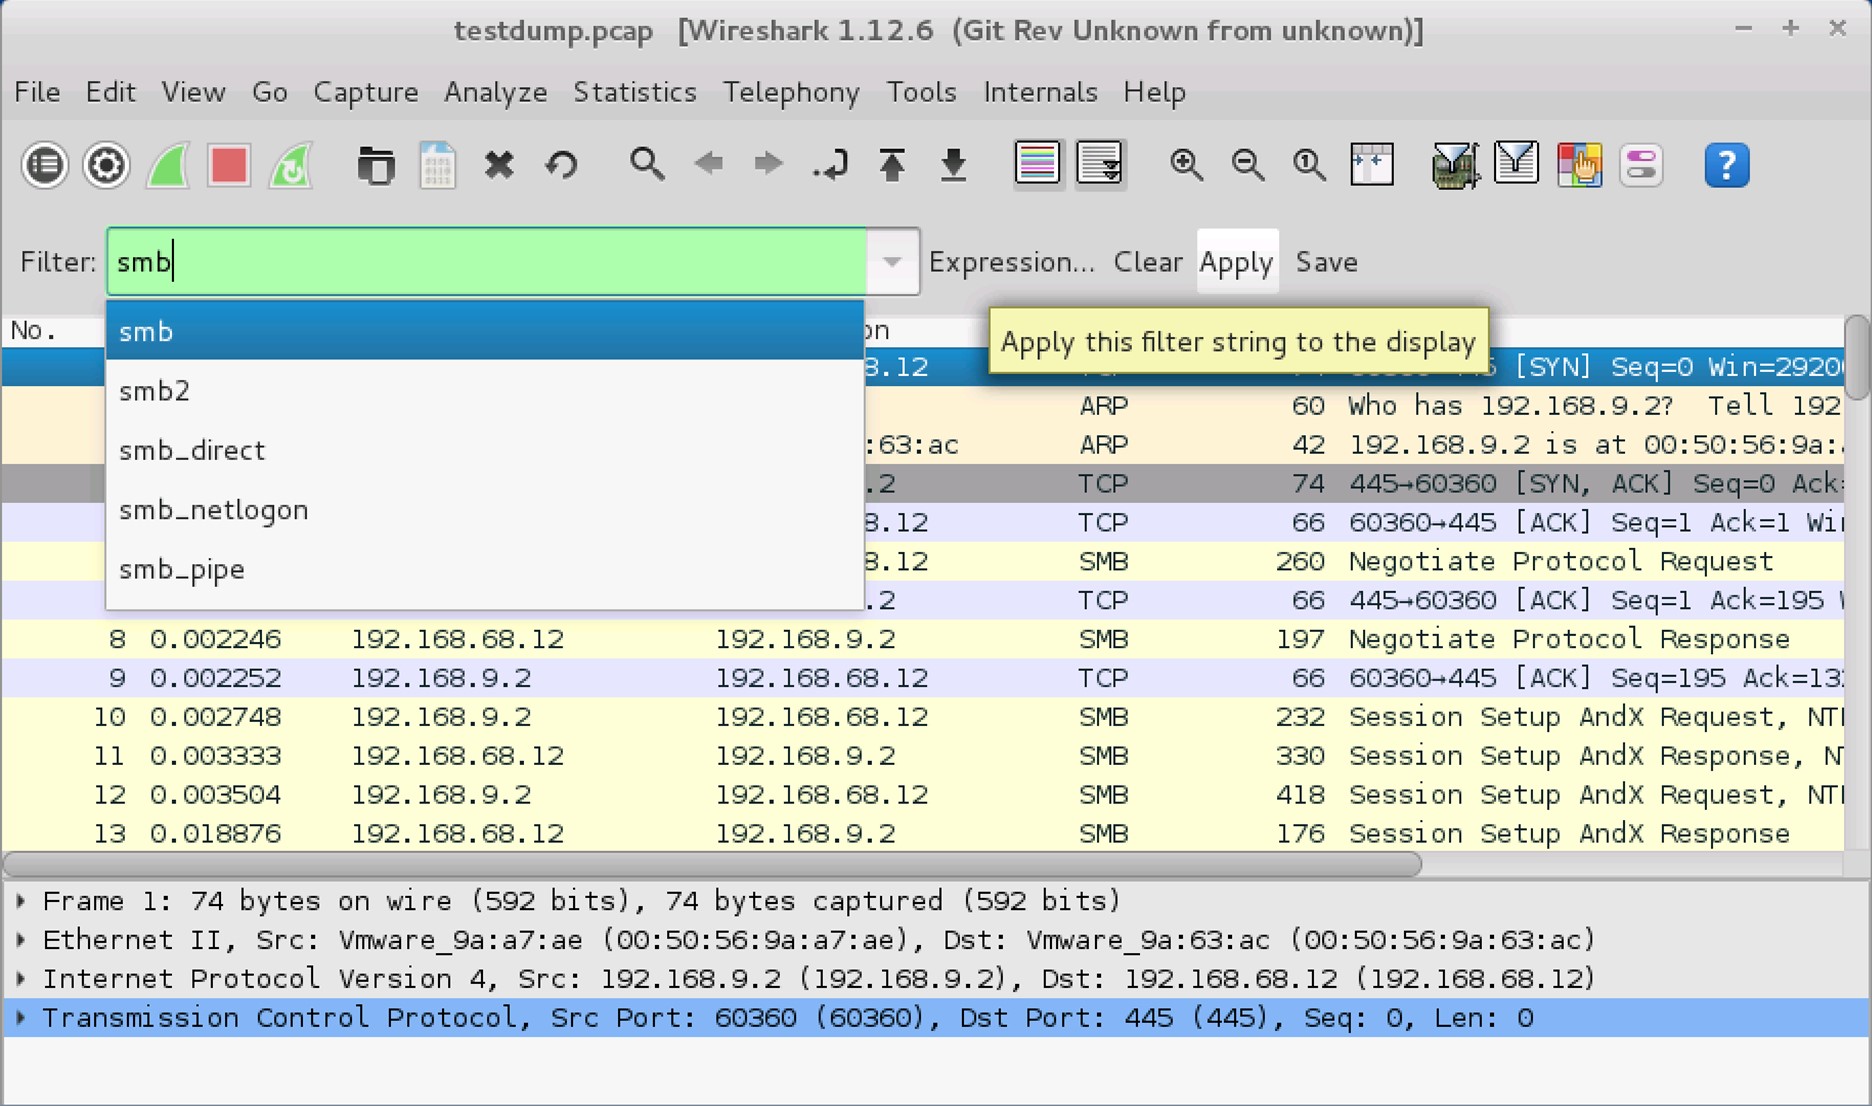
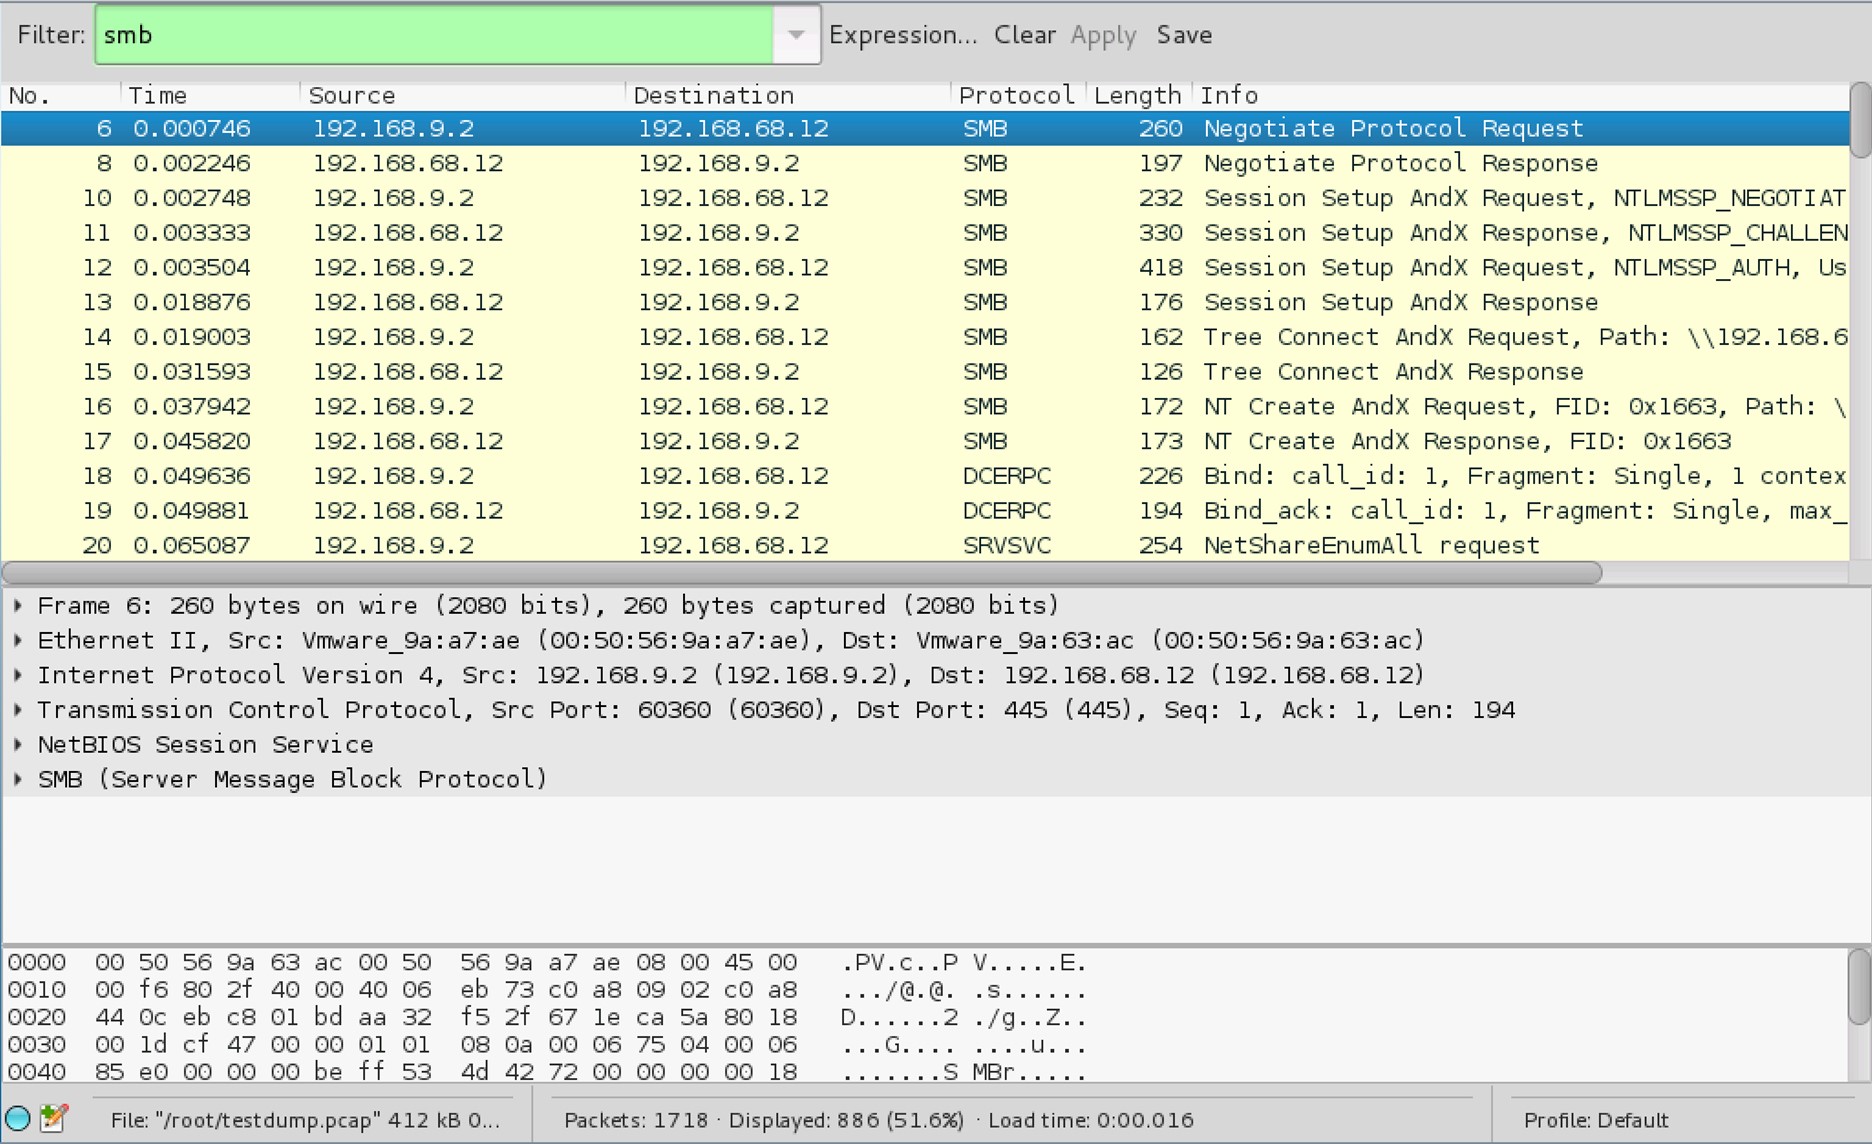
A new window, testdump.pcap opens up. To narrow the captured traffic to only show SMB traffic, input smb into the Filter text field and click Apply.
4. Captured SMB share traffic
5. Captured HTTP share traffic
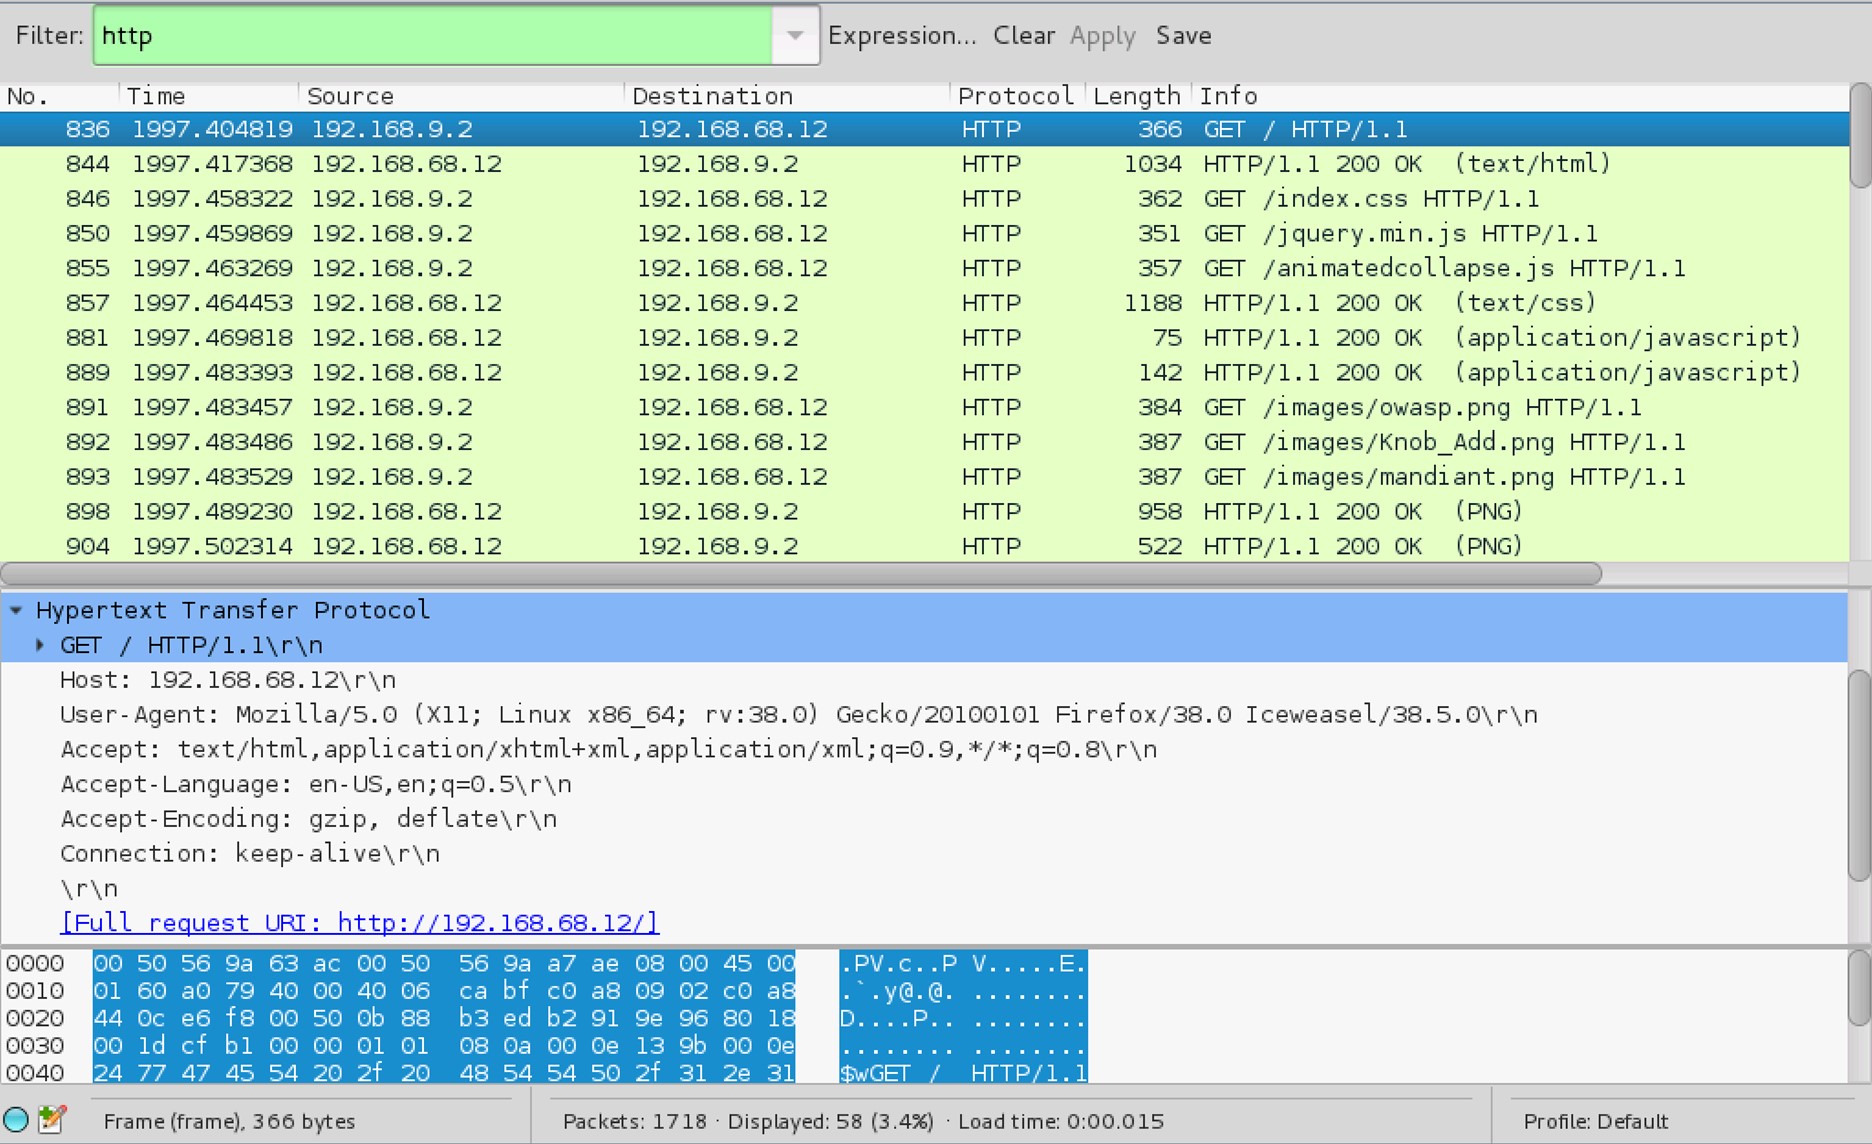
To narrow the captured traffic to only show HTTP traffic, input http into the Filter text field and click Apply.
6. Filter field
Click on the Clear button next to the Filter field
7. Follow TCP Stream
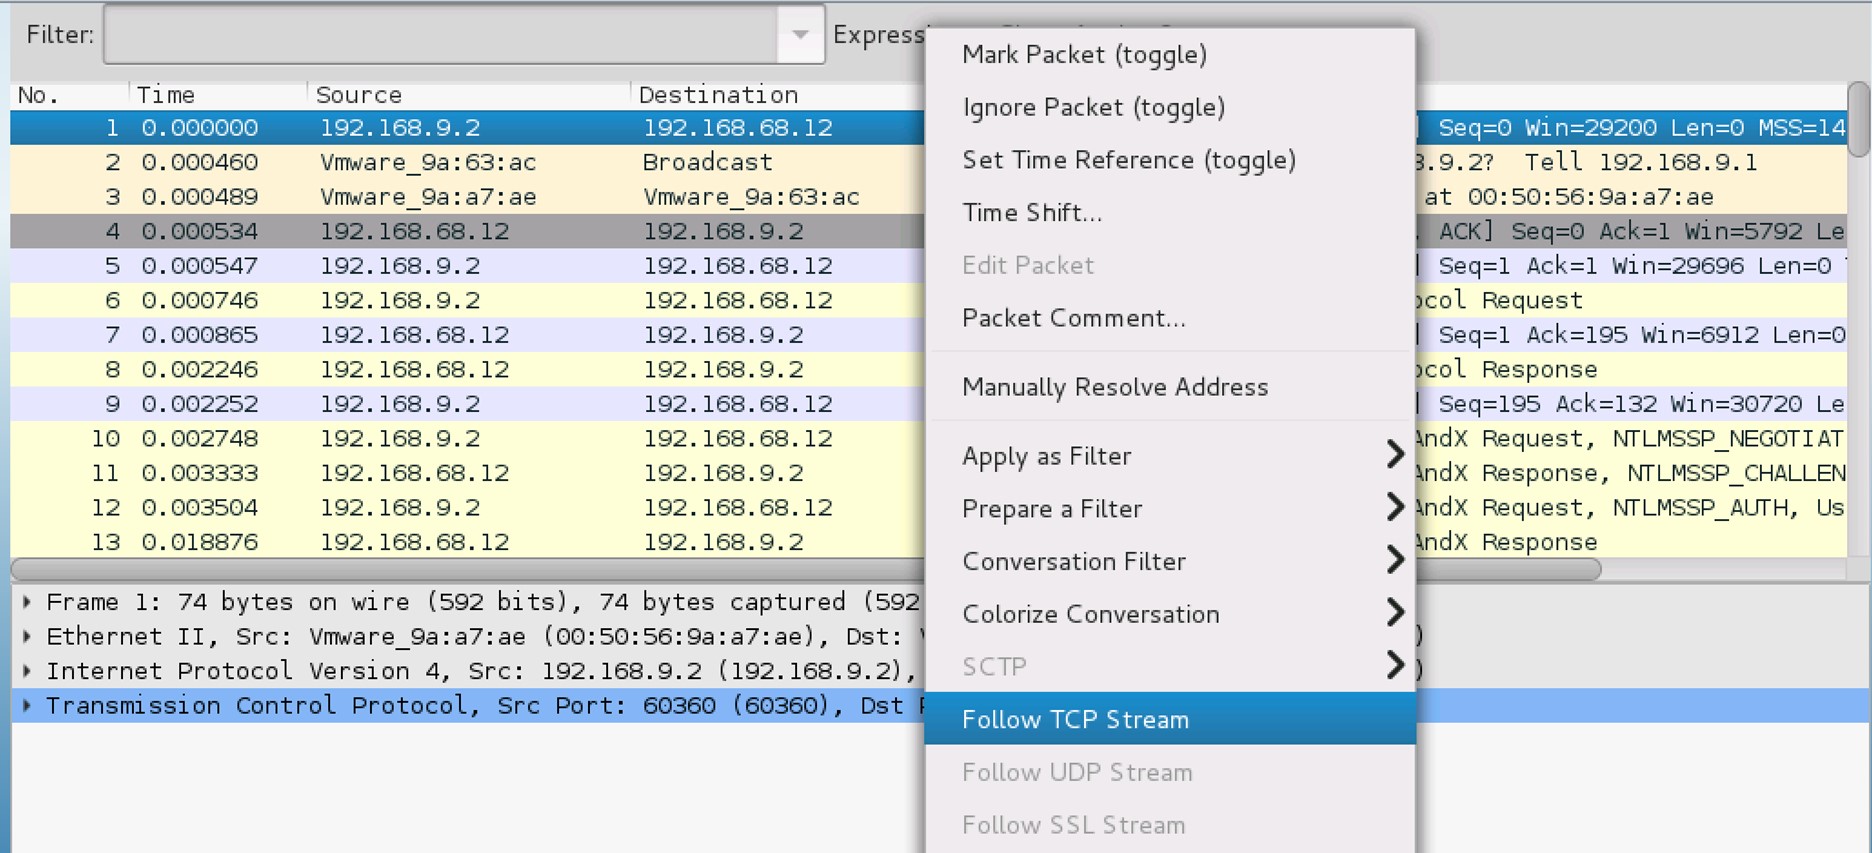
Right-click on the first TCP packet and click Follow TCP Stream.
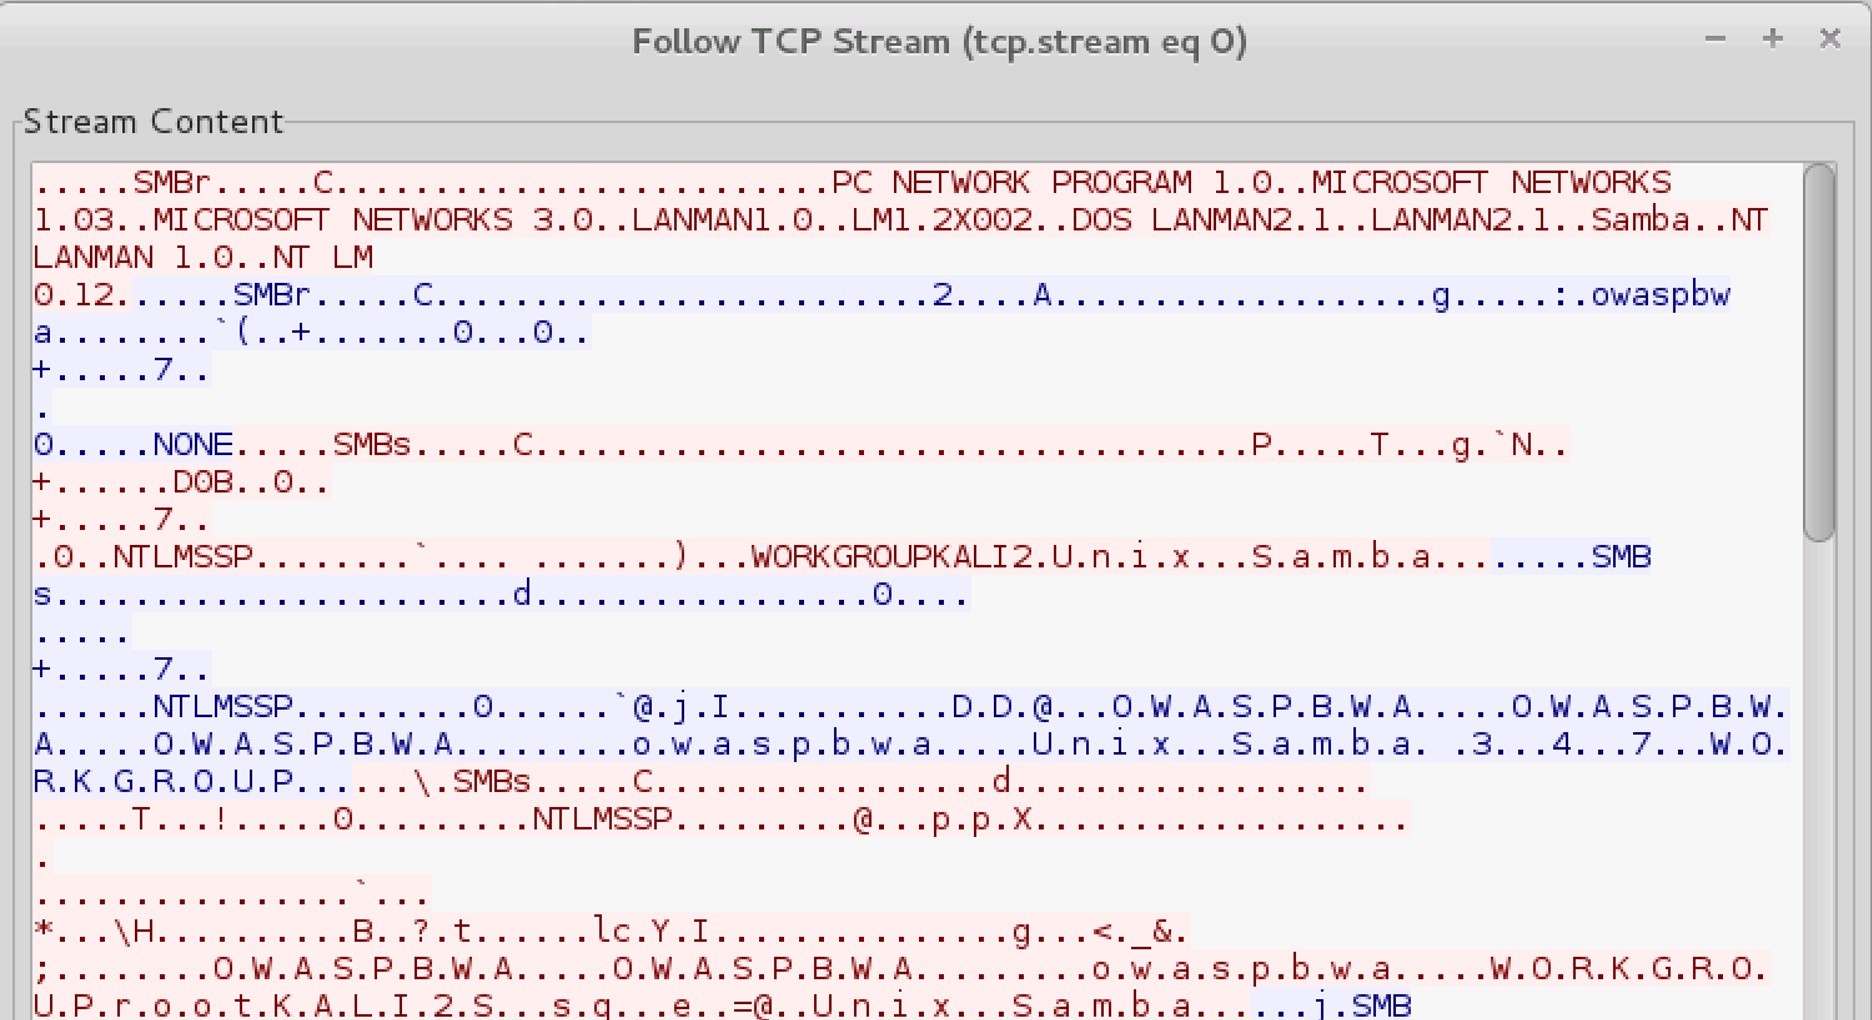
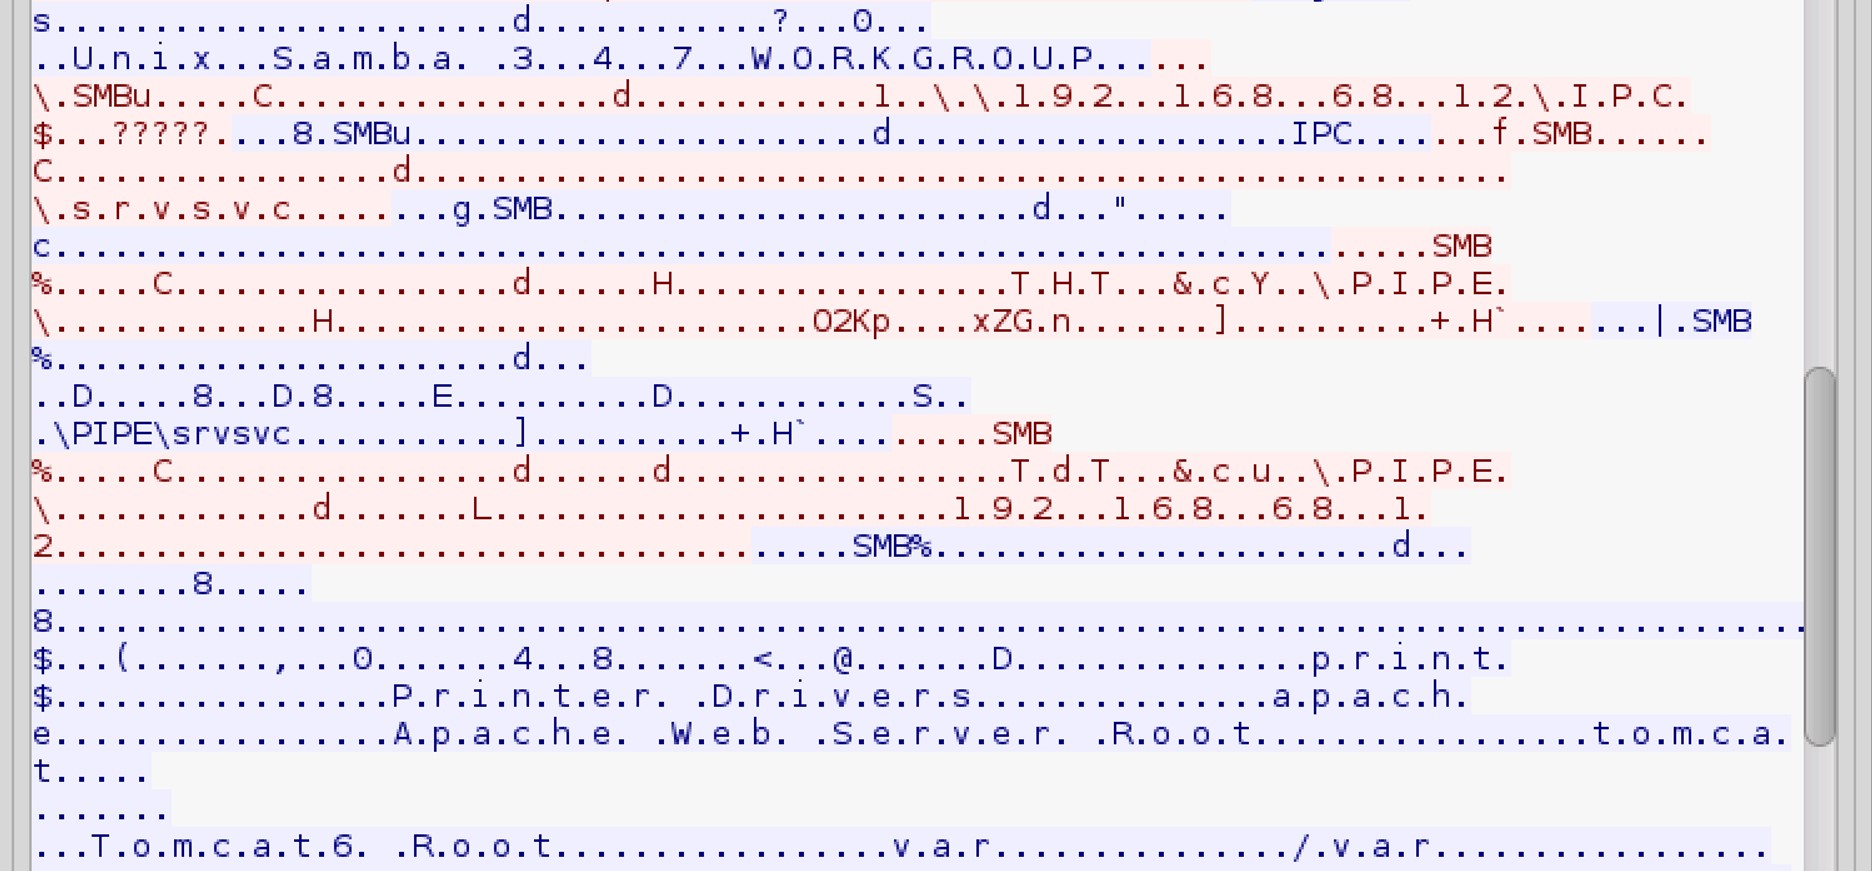
8. Stream content

3. Analyzing Traffic with Xplico
1. Back to the Terminal
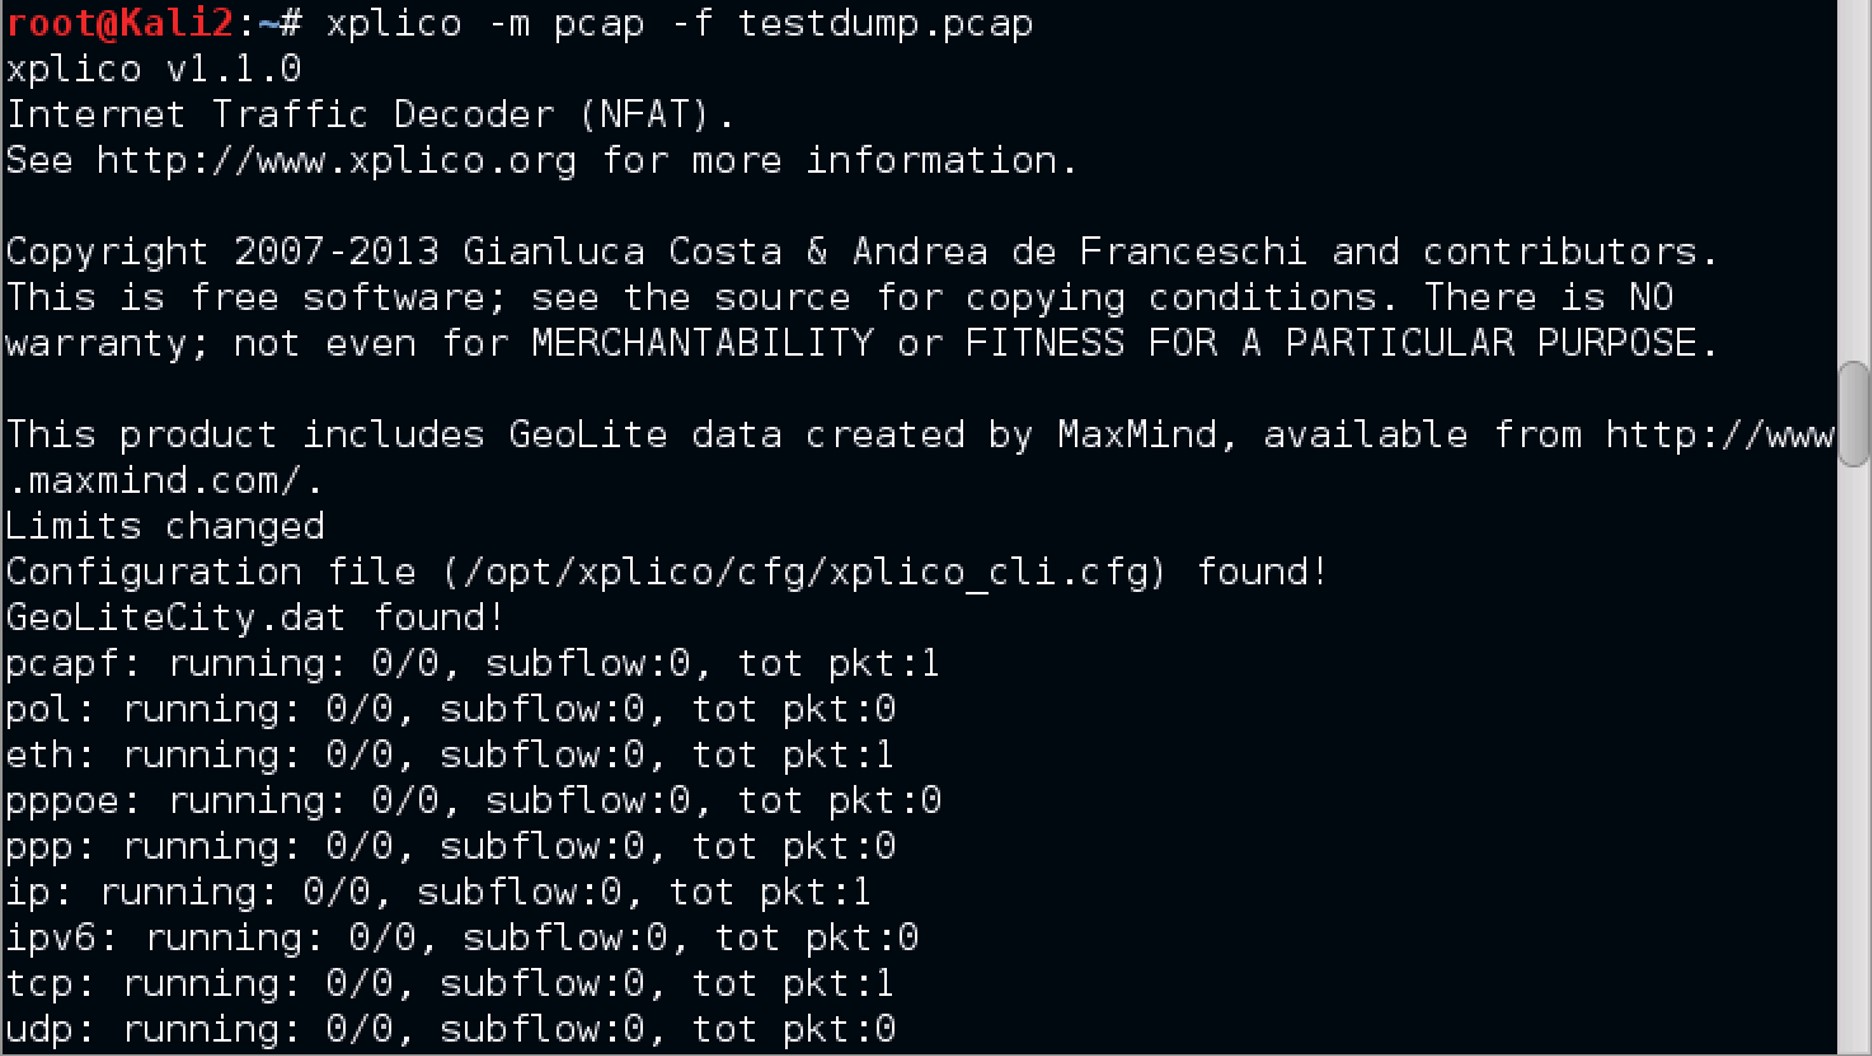
Close the Follow TCP Stream window and the Wireshark window and navigate back to the Terminal and input the command xplico -m pcap -f testdump.pcap.
2. Change directory

Change the directory to the /root/xdecode directory by inputting the command cd xdecode
3. Files and directories

List the files and directories in xdecode by inputting the command ls.
Reflections
1. What is Wireshark and what can you achieve using this tool?
Wireshark is a network packet capture tool; it can assist in capturing network packets and displaying them. The captured packets can then be used for real-time or offline analysis. Wireshark also allows filtering so that you can find the source of network issues, which can then aid you with network analysis and network security.
2. What information can you gather by using Wireshark and selecting "Follow TCP Stream"?
The information you can gather by using Wireshark and selecting "Follow TCP Stream" is that, you can listen-in on a specific TCP communication between hosts: minimum two or more. It locates all TCP packets between a given sender and the receiver and reconstructs the data sent in that exchange into something understandable.
End of Lab 11: Network Analysis